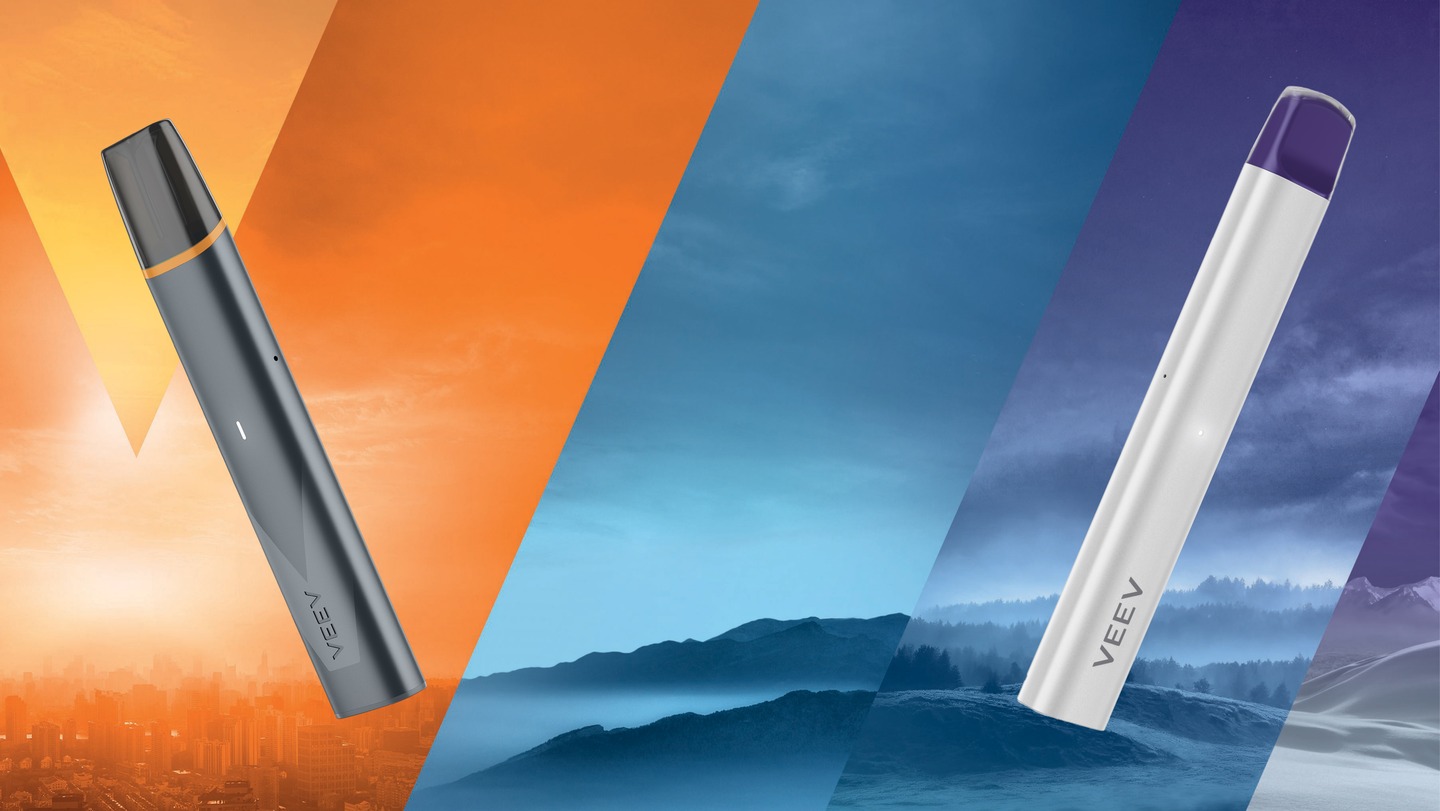


Your first steps with VEEV ONE Elite
Learn everything about your start with VEEV ONE Elite:
How to use your device proprely, as well as tips and tricks for the best possible experience.
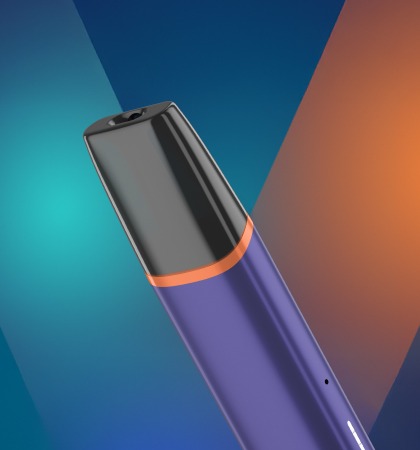
Your first steps with VEEV ONE Elite
Learn everything about your start with VEEV ONE Elite:
How to use your device proprely, as well as tips and tricks for the best possible experience.

How to use your VEEV One Elite for the first time
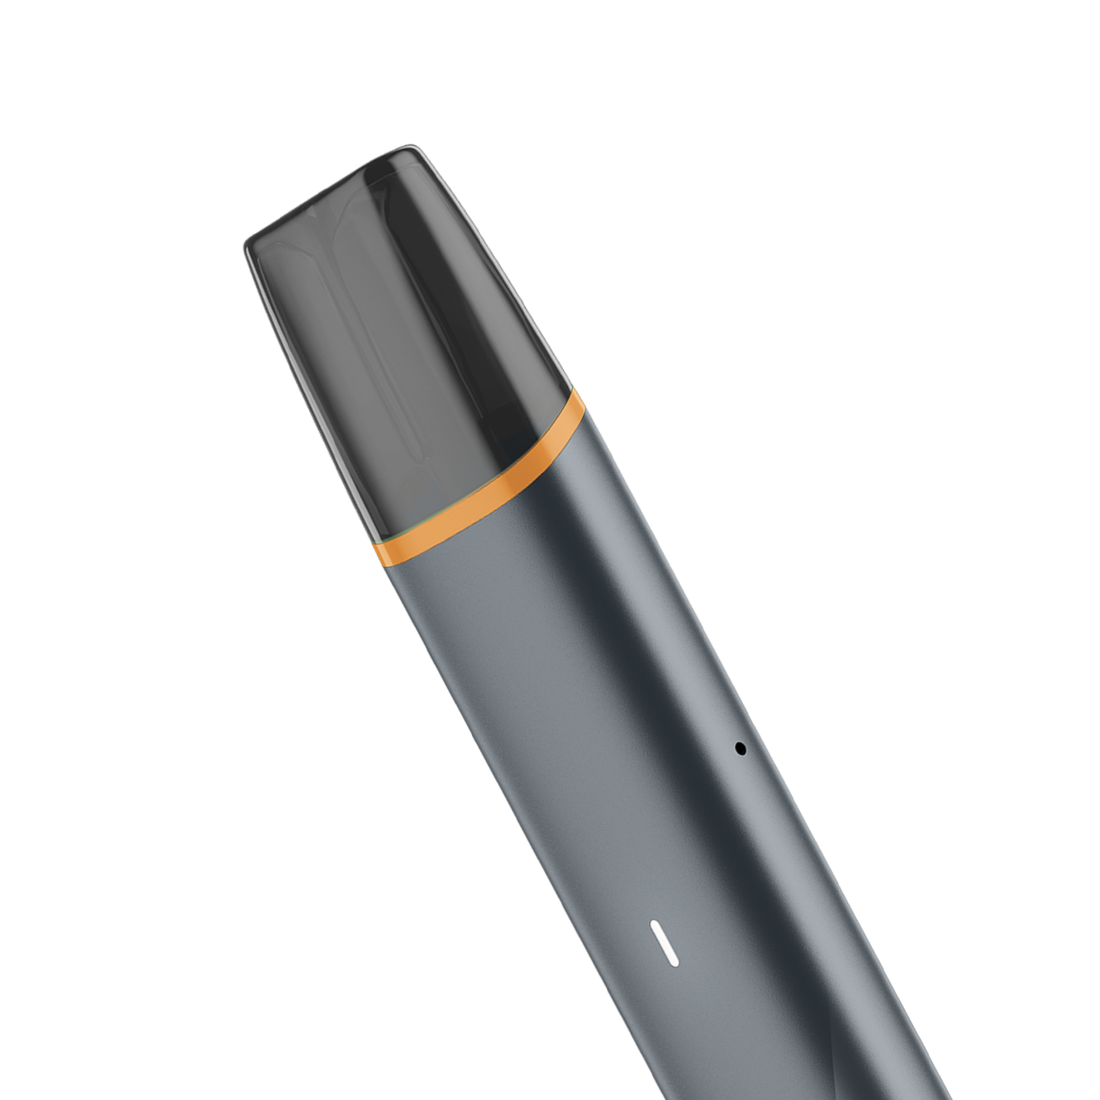
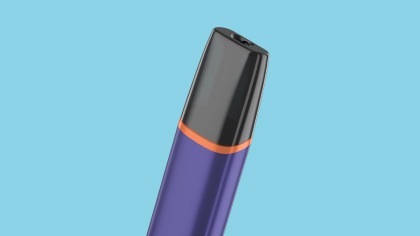
1. Unbox
Get ready for a new experience with VEEV One Elite and make sure you have everything you need before starting: the device, a manufacturer-approved Charging Cable with a certified AC Power Adaptor and your favorite VEEV One pod.
2. Prepare
Charge your VEEV One Elite. While charging, the light will blink continuously until charging cable is removed. As soon as your device is charged, insert a VEEV One pod. To turn on the device, press and hold the button (3-4 sec), then release. Status lights will turn on briefly. You can start using your VEEV One Elite device.
3. Vape
It’s simple: just start puffing! Take smooth puffs with normal drawing pressure to ensure the ideal vaping experience with VEEV One Elite.
You can always change the VEEV One pod while your device is turned on.
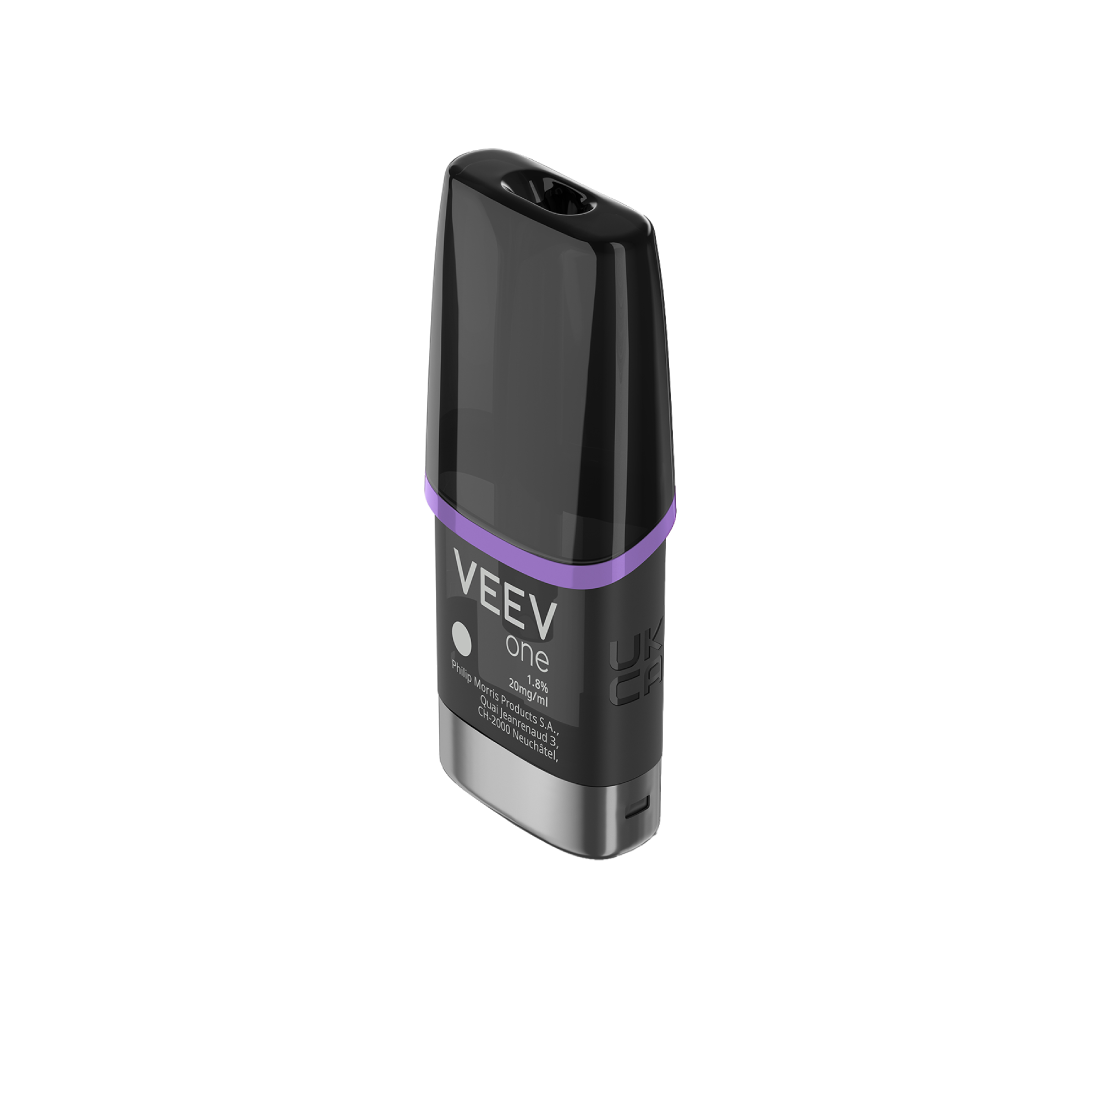
4. Change pod
You can easily change the pod at any time and on the go, with its magnetic connector made for easy insertion and removal. When you insert the VEEV One pod, status light will turn on slowly, and then off to indicate the device is ready to use.

Battery check.
You can easily check the battery level through the LED light.
- Short press the button to see the level of battery.
- When battery is equal or lower than 1%, the lower status light will blink white 5 times. In this case we recommend charging your device.
- When there is no light when you press the button, your battery is fully discharged. Your VEEV One Elite device should not be used until it has been recharged.
How to change your VEEV One pod.
Locate the small opening on the top right of the pouch, pull downward and tear the pouch to open it. You can now use your new VEEV One pod. Then, follow these simple steps:
- Take the old pod out.
- Insert the new pod ensuring it is in the correct orientation and fully pushed in place.
When inserting VEEV One pod, the status light will blink white once and your device is ready to use.